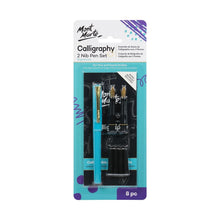
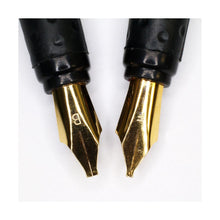
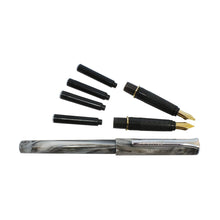
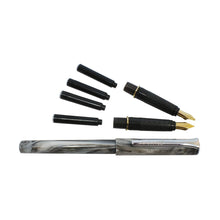
- 8 pieces included: 1 Calligraphy pen, 2 Calligraphy Nibs with rubber grips, 4 Black Ink Cartridges and an instruction booklet with practice sheets
- Two nib grades: fine and broad
- Ideal for calligraphy beginners
- Instruction book included
Handy hints
Inserting the ink cartridge
Step 1: To insert your ink cartridge, gently unscrew the black nib of the calligraphy pen and put the cartridge (smaller opening end first) into the opening.
Step 2: Hold the inserted ink cartridge against a strong surface, such as a table top, and press down firmly on the pen to force the cartridge to click into place. You will hear a click when the back of the pen nib pierces the cartridge.
Step 3: Screw the nib back onto the pen and place the calligraphy pen upright for a minute or two, prior to use. Then gently press it onto a scrap piece of paper to start the ink flow (it should only take a couple of strokes for the ink to start flowing). You’re now ready to start writing!
Using your pen
To keep the ink flowing smoothly, always hold your pen so that the nib is angled between 30 degrees and 45 degrees to the paper (calligraphy pens are not designed to be used in the same way as stationery pens).
Note: Medium and broad nibs are a great choice for beginners because they give you more control.
Care
- To keep your nibs in good condition, always clean and return them to the box after each session.
- Wash the nib under lukewarm water after extended use and dry carefully with a soft cloth. Do not allow ink to dry on the nib as this will stop it from flowing. Once clean and dry, replace the cap.
- Carry and store your pen upright (nib upright) to prevent leakage.


